

Summary
Running Windows 3.1 on a Raspberry Pi is a surprisingly smooth and nostalgic experience. With a minimal footprint and no pesky telemetry, this retro OS leverages a pixel-rich user interface that many will remember fondly. Installing it via DOSBox on Raspberry Pi OS is straightforward, allowing it to launch automatically with just a few commands. Plus, a treasure trove of retro applications and games, including the classic DOOM, awaits you.
Why Choose Windows 3.1?
While Raspberry Pis are often paired with lightweight Linux distros, venturing into vintage operating systems like Windows 3.1 (or even Windows 95 for a slightly more modern vibe) can be a refreshing change. These older systems boast familiar interfaces and a variety of applications, minus the bloat commonly found in newer OSes.
Even when emulated, Windows 3.1 is remarkably responsive. Menus pop open instantly, contrasting sharply with the sluggishness of today’s operating systems that bombard users with ads and unnecessary features. Most importantly, Windows 3.1 values your privacy, offering an experience free from telemetry, advertising IDs, and the like. This minimalistic setup effectively strips away distractions, allowing you to focus on the software you actually want to use.
Although lightweight Linux options share some of these merits, the charm of legacy Windows cannot be understated. An abundance of software—often considered abandonware—and early productivity tools are readily available online, and of course, you can’t forget about running classics like DOOM.
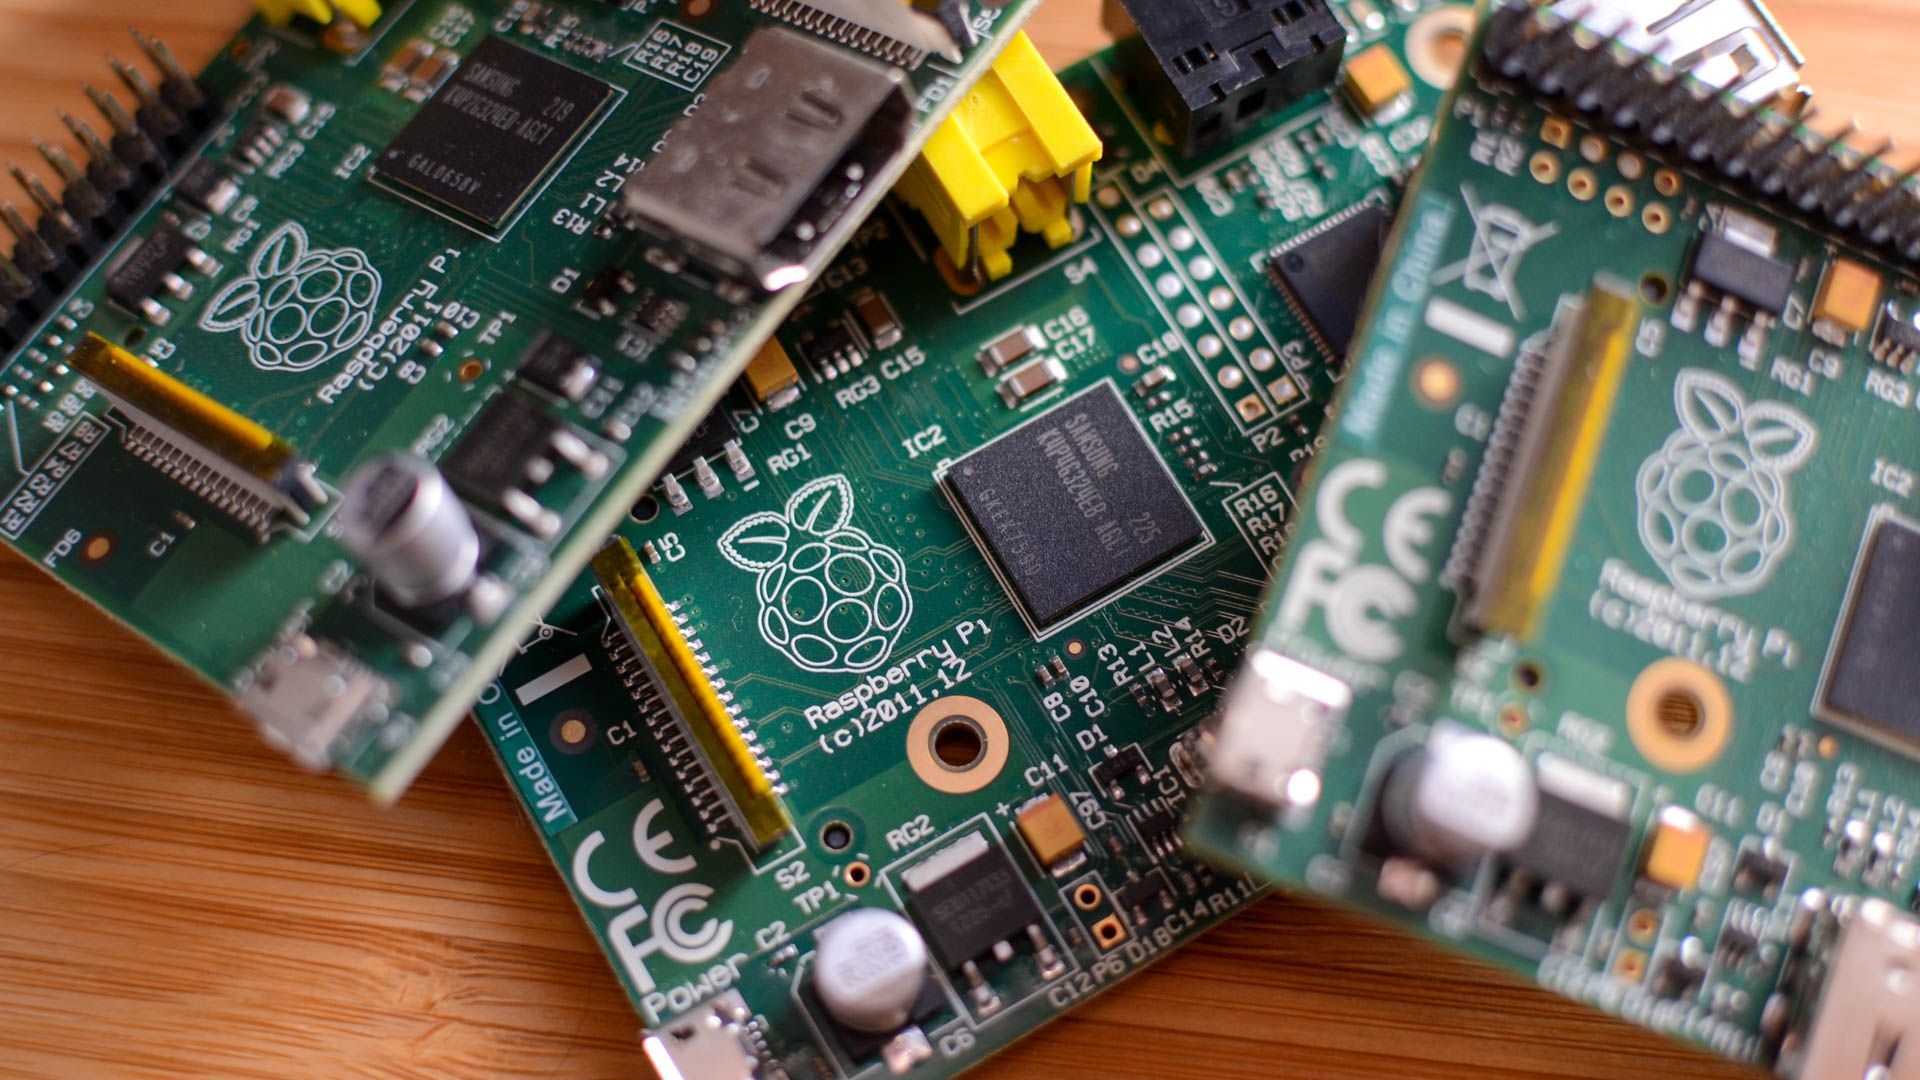
Setting Up Windows 3.1 on Your Raspberry Pi
To bring Windows 3.1 to life on your Raspberry Pi, you’ll need an emulator called DOSBox, which enables the execution of MS-DOS software on Linux. Setting things up isn’t overly complex, even if you prefer a more hands-on approach rather than using pre-made images.
First, install Raspberry Pi OS on your device. Connect to Wi-Fi and update everything using the terminal command sudo apt update && sudo apt upgrade. If your desktop doesn’t auto-login, you can adjust that in the Raspberry Pi Configuration tool.
For convenience, you might want to prevent the annoying popup that appears when USB drives are connected. You can disable this feature in the File Manager Preferences under Volume Management by unchecking “Show available options for removable media when they are inserted.”
Next, install DOSBox with the command sudo apt install dosbox -y. If you want better performance and compatibility, consider using DOSBox-X instead.
Create a new directory called win311 in your Home Folder and set up a script named launch.sh to automate the startup of DOSBox. Here’s a simple version of the script:
bash
!/bin/bash
Wait 3 seconds for any connected USB drives to mount
sleep 3
exec dosbox -conf /home/pi/win311/dosbox.conf
You’ll also need a configuration file, dosbox.conf, with appropriate paths and settings. Make sure to replace placeholder paths with your actual username. Within the [autoexec] section, configure it to recognize any USB drives connected to your Raspberry Pi.
For the hard drive of your virtual Windows system, create a new directory named c_drive within the win311 folder.
To ensure that DOSBox launches automatically, create a .desktop file in the ~/.config/autostart/ directory.
Installing Windows 3.1
Once your script is ready, you need the actual Windows 3.1 installation files. You can use your own install media or find digital copies available online legally. If you go the digital route, extract the installation files into a WINSETUP directory within c_drive.
Run the installation script using the terminal, and follow the prompts to complete the process. After the installation, reboot your Raspberry Pi, and you should find yourself greeted with the Windows 3.1 desktop.
Enjoying Your Retro Setup
With Windows up and running, accessing USB drives will be seamless—your files will neatly appear under the U: drive. While this setup is delightful, be aware that certain programs may require the share command that DOSBox doesn’t provide. To work around this, you can use noshare, an alternative that allows some retro software to function properly.
You’re now ready to explore the vast library of vintage software, from productivity tools to classic games. Whether for light use or a nostalgic trip down memory lane, this setup breathes new life into your Raspberry Pi.
Intrigued by the endless tinkering possibilities with your Raspberry Pi? Check out some fun projects you can dive into on a rainy weekend!


