

When it comes to transforming a space with lighting, the right approach can lead to stunning results without overwhelming complexity. I recently took on a project to elevate the aesthetics of my display tower and china cabinet, both of which were often lost in shadows. My goal was clear: to create a soft, even glow that added a touch of refinement.
Why Lighting Matters
Lighting can dramatically change the atmosphere of any space. For my display tower, I wanted each item to shine rather than fade into the background. As for my classic china cabinet, while beautiful, it became nearly invisible as soon as the sun set. I envisioned a warm ambiance that highlighted the best features without being overly bright or harsh.
Keeping It Simple
I’ve browsed numerous LED installation tutorials online, but most required soldering and intricate tools—something I simply didn’t have the time or expertise for. So, I opted for a cleaner, simpler solution that could be completed in a small area and within a few hours. Here’s how I made it happen.
Essential Materials
Before diving into the project, gathering the right materials is crucial. My list was straightforward:
Essentials:
- LED strip lights (make sure to choose adhesive-backed)
- 2-conductor wire
- Clip connectors
Optional (but useful):
- Drill with a wood bit
- Cable clips or adhesive guides to hide the wiring
Also, skip using traditional wire strippers for 2-conductor wire; an automatic one will make your life easier.
Plan Your Layout
Before cutting or mounting anything, I spent some time sketching out my layout. This stage is all about measuring shelves, figuring out how many LED strips to use, and mapping out wire routes.
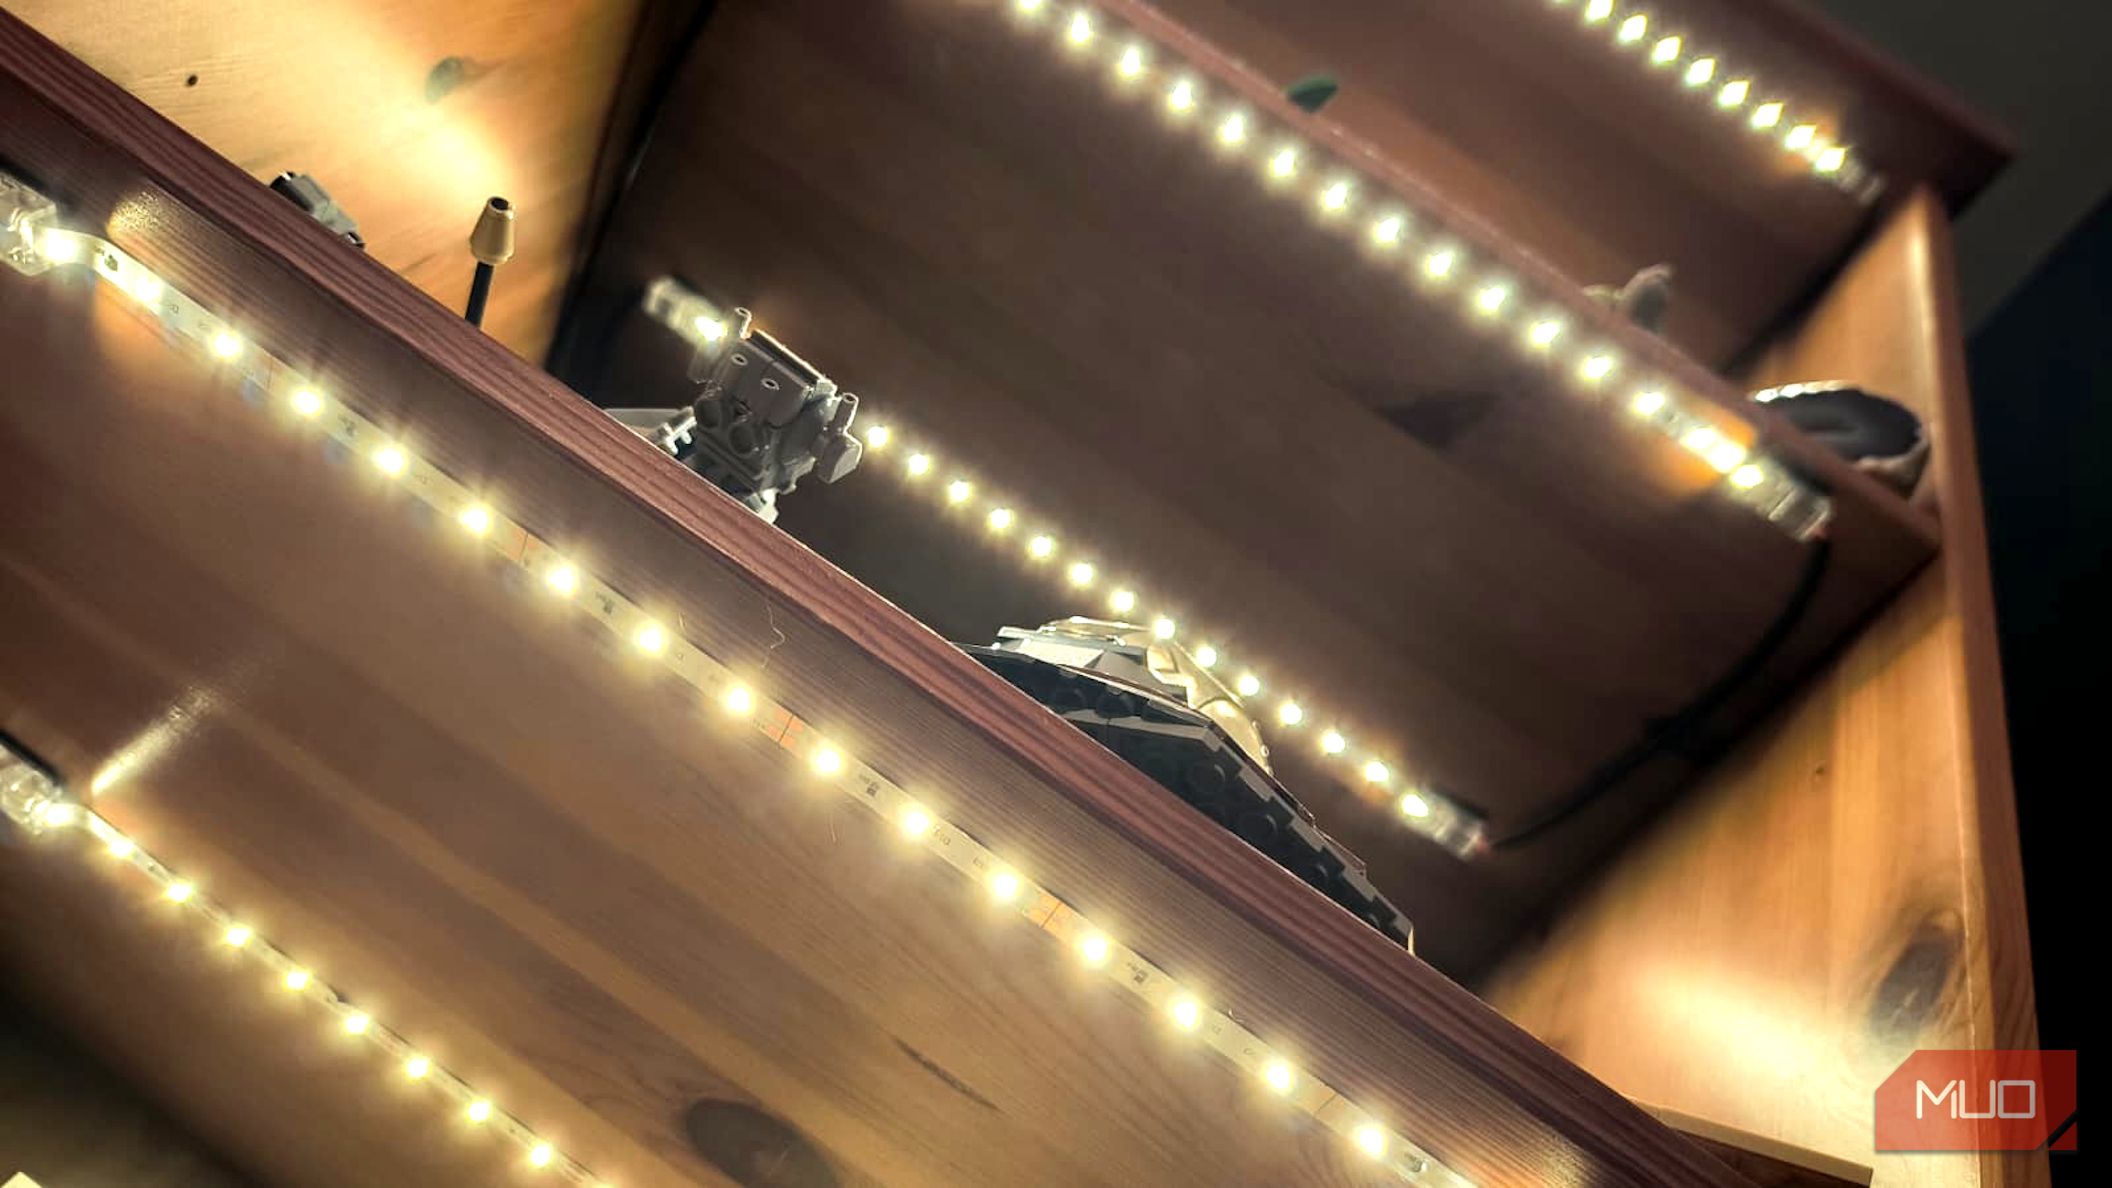
I had five shelves in my display tower, and I decided to install two LED strips underneath each one, directing light downward. This setup meant connecting all fifteen segments in series from a single power source, making the 2-conductor wire essential.
Cutting and Testing LED Strips
LED strips come with marked cut points—small copper pads where cutting is allowed. After measuring, I cut each strip to fit perfectly on the shelves. Remember, test your entire LED strip roll before cutting to make sure each light works.
Clip Connectors: The No-Solder Solution
The magic of my setup lies in the clip-on connectors. These handy gadgets feature teeth that grip onto the copper pads of the LED strips, providing a secure connection without the need for soldering. Here’s how to use them:
- Open the flat side of the connector.
- Slide the LED strip under the metal teeth, aligning it with the + and – terminals.
- Snap it closed until it clicks.
- Insert your wires into the designated holes and secure them as well.
In under a minute, you create a solid connection without any fancy tools or soldering.
Routing Wires Discreetly
Visible wires can ruin even the most polished look. To keep everything tidy, I drilled small holes near the back corners of each shelf, just wide enough for the wire connectors to pass through. This allowed me to route the cables neatly out of sight.
Before drilling, I made careful measurements to avoid damaging the wood. I used painter’s tape for guidance on my china cabinet, drilling about an inch in from each side.
Secure Everything in Place
Once all strips were tested and cut, I peeled off the adhesive backing and firmly pressed them beneath the shelves. For added security, I applied double-sided tape to the connectors. After connecting the wires and powering everything on, the result was a beautifully lit display.
Tips for a Professional Finish
To elevate the project from amateur to professional, focus on details. If any wires showed from the front, I adjusted their paths or secured them discreetly. Additionally, consider using higher-quality LED strips to reduce visible hotspots or gaps in lighting.
Choose your light temperature based on the ambiance you’re after: cooler tones work well for modern settings, while warmer hues are great for traditional spaces. Adding an inline dimmer switch can offer even more control, letting you create a cozy atmosphere in the evenings.
Final Touches
What started as a simple upgrade exceeded my expectations. The ambient glow now beautifully highlights my collectibles and china, deepening the character of the room. The modular design allows for future adjustments, whether through smart device integration or additional features like motion sensors.
By taking charge of your lighting, you can create a space that truly reflects your style. There are plenty of other DIY LED projects out there, so if you’re inspired to dive in, you have a world of options ahead!


